Disassembly and assembly process of melt pump
Disassembly steps of melt pump
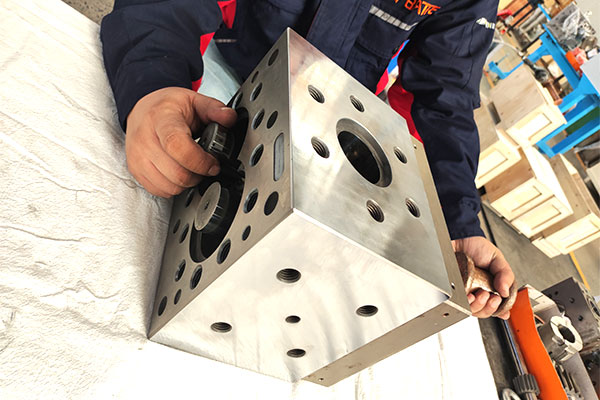
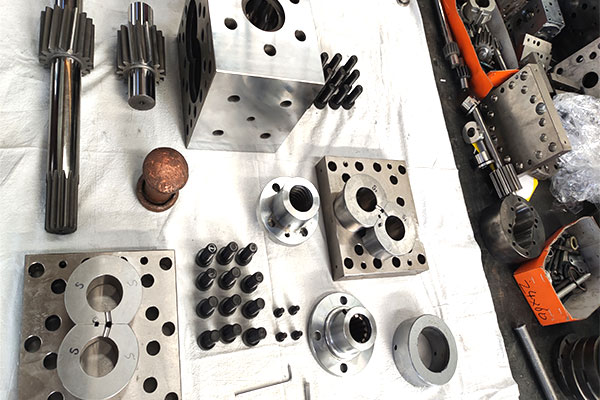
1. When disassembling the melt pump, attention should be paid to the position and orientation of all components to ensure correct assembly. The storage area for parts should be clean and tidy.
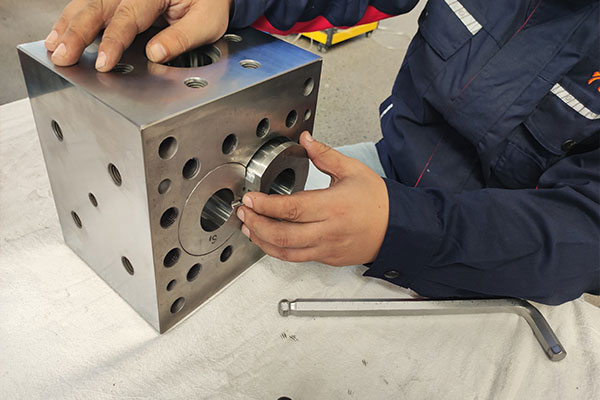
2. When disassembling the melt pump, use a soft mouth vise to hold the pump body. During maintenance, be careful when handling the components to avoid falling and collision. Because even the slightest scratches or burrs can make assembly difficult and cause damage to the pump.
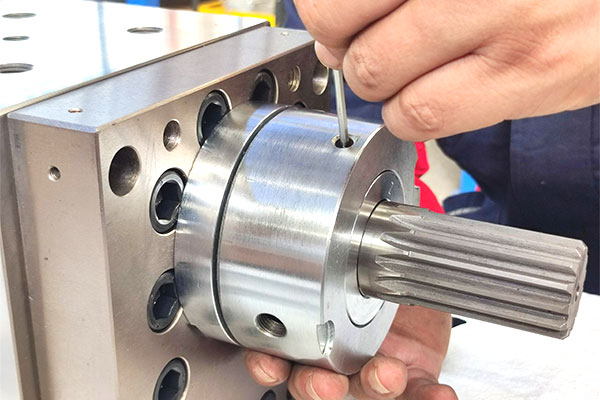
3. Be careful when removing the sealing component, and be careful not to damage the sealing groove and shaft, otherwise there may be material leakage during the operation of the melt pump.

4. Loosen all the bolts on the end cover plate once, then unscrew and remove them all. Remove the end cover plate and place it in a safe place to prevent damage. At this point, it is important to remember that the grooves on each bearing correspond to the orientation of the pump inlet and outlet. When assembling, the pump must be reinstalled in its original orientation, otherwise it will be severely damaged when starting.
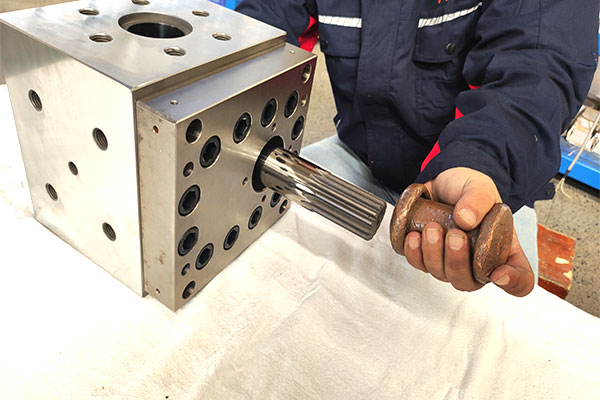
5. Remove the gear shaft and bearings from the middle plate, as they are sometimes difficult to remove due to residual material viscosity inside the pump. Therefore, when removing it, special attention should be paid not to tap or damage the edges and corners of the teeth or bearings. A plastic rod or copper hammer can be gently tapped to remove it, and an iron hammer should not be used.
6. Remove the bearing from the gear shaft, being careful not to damage the teeth, bearing corners, and shaft. If it is not easy to disassemble (due to residual material viscosity), gently tap the bearing with a plastic or copper hammer to loosen it, do not use an iron hammer. Do not use a screwdriver or other tool to pry it open, as this can easily damage the teeth. Remember which shaft the removed bearing comes from, and then place it aside in a safe location.
7. After disassembling the melt pump, all components should be carefully inspected to confirm whether there is wear, cracks, burrs, scratches, etc. The end cover plate and bearings can be polished with 600 # sandpaper. If there are burrs, scratches, or other sharp corners, they can be gently polished with a grinding stone. The relationship between the melt pump, the middle plate, and the bearings is crucial for ensuring measurement performance, so be careful when polishing. As long as the surface is polished clean, the metal cannot be removed. Under no circumstances should these components be ground.
Assembly steps of melt pump
1. Use trichloroethane or ethylene flux to clean all components of the melt pump that need to be assembled.
2. During the assembly process, it is necessary to frequently rotate the gears by hand to confirm their free rotation. During the assembly process, if any jamming phenomenon is found, the cause must be identified and resolved before proceeding to the next step. Any scratches. Burrs or external debris can cause damage to important parts. During the assembly process, forcefully assemble or rotate the pump; If assembled correctly, all components can be easily installed into the pump, and the shaft is also very flexible.
3. During assembly, a soft mouth vise should be used to clamp the pump body
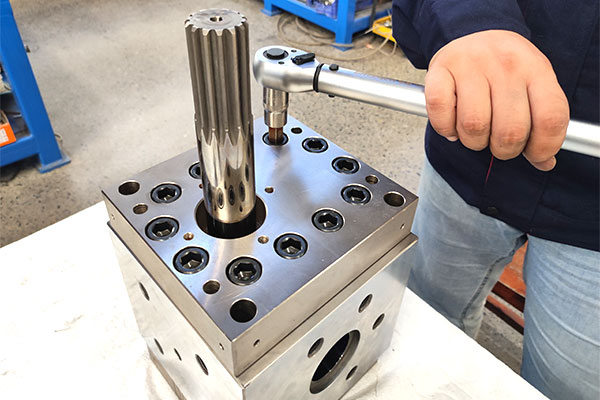
4. Before installing the bolts, apply DAG154 or similar high-temperature resistant grease to the threaded part, and tighten the bolts on the end cover plate diagonally. First, tighten them with the recommended torque value of 1/4, then 1/2, then 3/4, and finally tighten the bolts with full force.
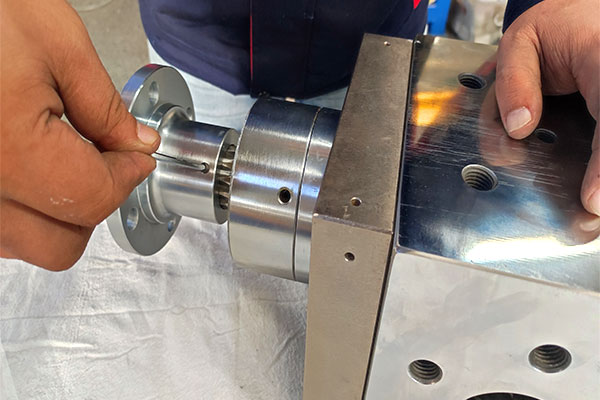
5. Install the sealing chamber on the shaft, do not tighten the bolts on the sealing chamber tightly, adjust the sealing and drive shaft to be coaxial, and then tighten the bolts.
6. Install the sealing cover plate on the shaft, align the bolt holes of the cover plate with the bolts on the sealing component, install the bolts, and tighten them evenly diagonally. The seal is smoothly pressed into the sealing chamber. When the cover plate fully contacts the sealing component, remove the cover plate, tighten the bolts of the sealing component, and tighten them.
Email: sale@meltpump.com
WhatsApp: +86 158 3833 1071