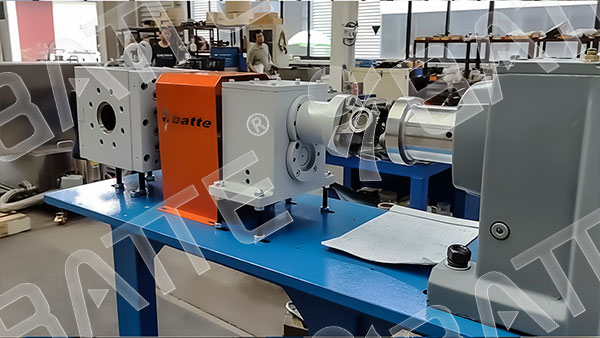
Rubber Melt Gear Pump Disassembly
Rubber melt gear pump disassembly must follow the sequence: “First relieve pressure and cool down → Step-by-step removal of external components → Separation of core components → Cleaning and inspection.” Throughout the process, take care to protect precision gear surfaces and sealing structures to prevent damage.
Pre-Disassembly Preparation
Safety Protection: Wear heat-resistant gloves and safety goggles to prevent burns from residual high-temperature melt.
Shutdown Procedures: First stop material feeding, then turn off the heating system. Wait until the pump body temperature drops below 60°C and the melt has completely cooled and solidified before proceeding.
Tool Preparation: Prepare hex wrenches, torque wrenches, copper rods, rubber mallets, specialized pin extractors, lint-free cloths, and cleaning agents (e.g., industrial alcohol).
Pressure Relief & Cleaning: Loosen the vent valve to release residual internal pressure. Clean external oil residue and material debris from the pump body.
Disassembly Steps
Remove External Connections
First disconnect the coupling or drive flange between the motor and pump body to separate the power connection. Remove the flange bolts from the inlet/outlet ports, detach the connecting pipes, and cover the interfaces with dust caps to prevent contamination.
Remove monitoring components like temperature and pressure sensors. Label wiring for easy reassembly.
Separate Pump Housing
Use an Allen wrench to evenly loosen the fixing bolts securing the end cover to the pump casing. Avoid applying force to one side only to prevent end cover deformation.
Gently tap the end cover edges with a rubber mallet to separate it from the pump casing (if stuck, apply a small amount of rust remover to aid separation; never strike with hard objects).
Remove core drive components
First remove the locating pins, then sequentially extract the drive gear shaft and driven gear shaft. Note the gear meshing direction and shaft installation orientation.
Remove the mechanical seals or skeleton oil seals at both shaft ends, simultaneously disassembling the bearings (use a specialized bearing puller for rolling bearings; never strike the outer bearing ring directly).
Separate auxiliary components
Disassemble the connection structures between gears and shafts (e.g., key pins, set screws). Safeguard small parts (keys, shims, etc.) by categorizing them into labeled storage boxes.
Remove auxiliary components like heating jackets and insulation layers from the pump body, avoiding scratches or damage during disassembly.
Disassembly Precautions
Avoid prying or striking with force: Use copper rods or rubber hammers to separate precision components like gears, shafts, and end covers to prevent gear tooth chipping or shaft surface scratches.
Protect Seals: Handle the moving and stationary rings of mechanical seals with care to avoid contact surface wear. Store them separately after disassembly.

Organize Parts: Arrange all removed components in the order they were disassembled. Photograph critical areas (e.g., gear meshing surfaces, shaft shoulders) to facilitate precise alignment during reassembly.
Prevent Contamination: Maintain a clean workbench throughout disassembly. Immediately wipe disassembled parts with lint-free cloths to prevent dust or oil residue from adhering to precision surfaces.
Email: sale@meltpump.com
WhatsApp: +86 158 3833 1071